Refer to official docs: https://docs.gitlab.com/ce/administration/lfs/manage_large_binaries_with_git_lfs.html
Requirements
- Git LFS is supported in GitLab starting with version 8.2
- Git LFS must be enabled under project settings
- Git LFS client version 1.0.1 and up
1. Enable LFS on GitLab Server
a). Configuration for Omnibus installations In
/etc/gitlab/gitlab.rb:
# Change to true to enable lfs - enabled by default if not defined
gitlab_rails['lfs_enabled]=false

# Optionally, change the storage path location. Defaults to
# `#{gitlab_rails['shared_path']}/lfs-objects`. Which evaluates to
# `/var/opt/gitlab/gitlab-rails/shared/lfs-objects` by default.
gitlab_rails['lfs_storage_path']"/mnt/storage/lfs-objects"
b). Configuration for installations from source In
config/gitlab.yml:
# Change to true to enable lfs
  lfs:
    enabled: false
    storage_path:/mnt/storage/lfs-objects
2. Submit LFS object to Git project Initialize LFS support in the project, and mark the file extensions for tracking as LFS object:
$ git clone [email protected]:group/project.git
$ git lfs install # initialize the Git LFS project
$ git lfs track "*.out" "*.so" "*.dll" "*.meta" "*.dat" "/bin/**" # select the file extensions that you want to treat as large files
Details for lfs track partten please refer to : https://git-scm.com/docs/gitignore#_pattern_format
Make sure that .gitattributes is tracked by Git. Otherwise Git LFS will not be working properly for people cloning the project:
$ git add .gitattributes
$ git commit -m "Submit lfs settings"
$ git push -u origin master
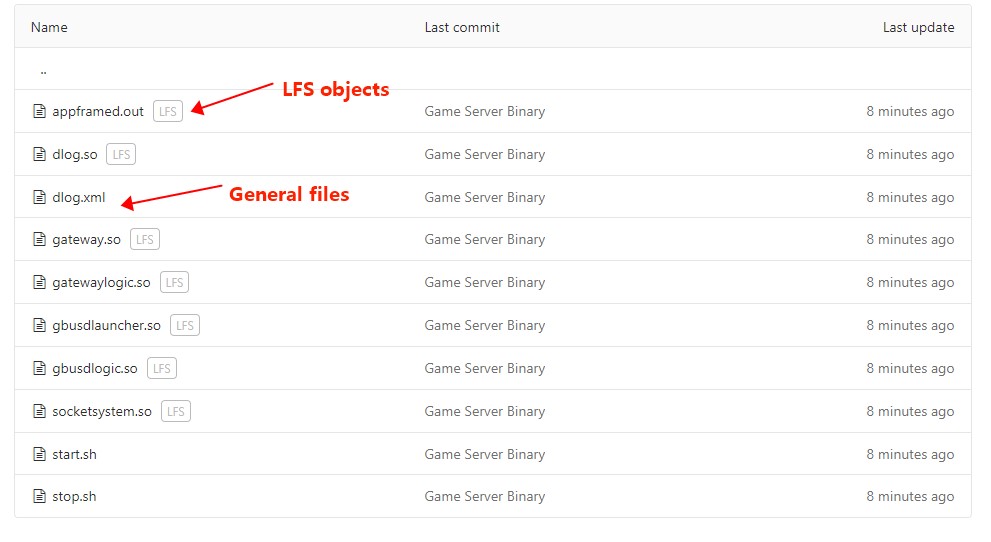
An LFS icon is shown on files tracked by Git LFS to denote if a file is stored as a blob or as an LFS pointer. Example:
3. Pull LFS object from Git project Other user need to install git-lfs package and execute git lfs pull after clone the prjoect:
$ git clone [email protected]:group/project.git
$ git lfs pull
General “git pull” will only download index data of LFS object:
# cat appframed.out
version https://git-lfs.github.com/spec/v1
oid sha256:e8eef08ead6e6f3ad021ba798b35d2da59f804e9dbe8aace7ed4b66d3ede1054
size 6766944
In jenkins, it needs to enable “
Git LFS pull after checkout” addtional behavior for Git repo.